
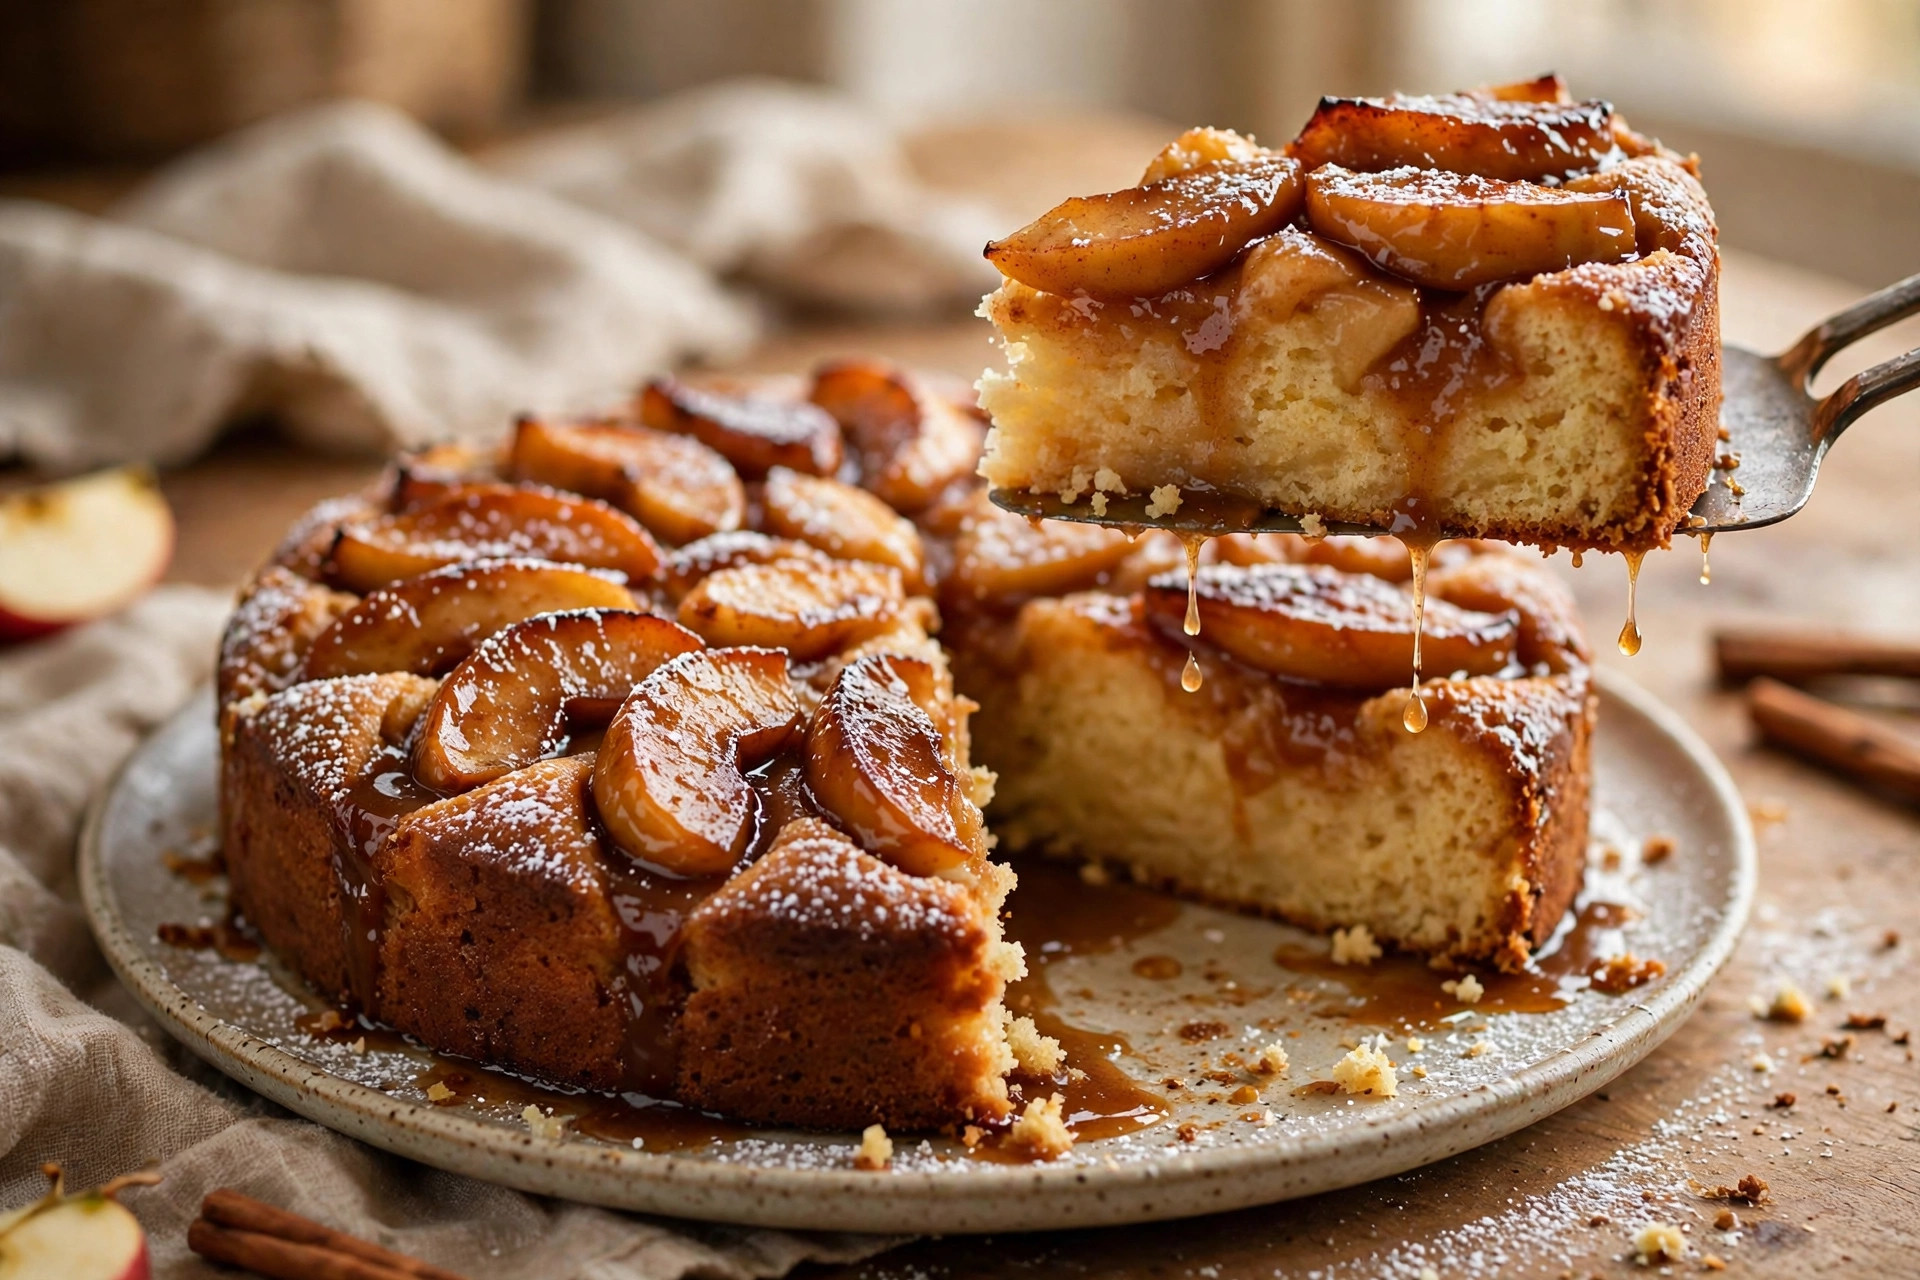
All the cozy flavor of apple pie — warm cinnamon apples, golden cake, that first sweet bite — without rolling a crust or even turning on the oven. This Tasty Apple Pie is really an easy skillet apple cake: apples get a quick butter-and-cinnamon sauté right in the pan, a simple batter pours over the top, and the whole thing steams under a lid on the stovetop until fluffy and set.
Fifteen minutes of cooking, one pan to wash, and a dessert that flips out onto a plate with the caramelized apples shining on top. It’s the fastest route to apple pie flavor there is — perfect for weeknights, small kitchens, hot days when the oven stays off, and anyone who wants dessert now.
Table of Contents
Why the Skillet Method Works
Two kinds of heat do the work here. The pan’s direct heat caramelizes the apples on the bottom (which becomes the top when you flip it), while the steam trapped under the lid gently bakes the batter through — the same job an oven does, in a fraction of the time. The result is a tender, moist cake crowned with soft, glossy, cinnamon-spiced apples.
Recipe Overview
- Prep Time: 10 minutes
- Cook Time: About 15 minutes
- Total Time: About 25 minutes
- Servings: 6
- Equipment: 10-inch non-stick skillet with a lid
- Difficulty: Easy — no oven, no crust
Ingredients
For the Apples
- Apples: 3 medium, peeled and sliced into even wedges
- Butter: 1 tablespoon
- Ground cinnamon: 1 teaspoon (plus a sprinkle more if you love it)
For the Batter
- Egg: 1 large
- Granulated sugar: ½ cup
- All-purpose flour: 1 cup
- Milk: ½ cup
- Baking powder: 1 teaspoon
- Vanilla extract: 1 teaspoon
- Salt: a pinch
To Finish
- Confectioners’ sugar: for dusting
Choosing apples: Firm, tart Granny Smith slices hold their shape and balance the sweet batter beautifully. Honeycrisp or Fuji lean sweeter and more caramel-like. Use what you have — just slice evenly so everything cooks at the same rate.
Step-by-Step Instructions
Step 1: Make the Batter
In a small bowl, whisk the egg and sugar together until the mixture turns pale and slightly thick. Whisk in the milk and vanilla, then fold in the flour, baking powder, and salt until you have a smooth, pourable batter with no dry pockets. Set it aside to rest while you handle the apples.
Step 2: Sauté the Apples
Melt the butter in a 10-inch non-stick skillet over medium heat. Add the apple wedges in an even layer, sprinkle with the cinnamon, and cook for 3–4 minutes, turning once or twice, until the apples just begin to soften and glisten. Arrange them in a neat, even layer across the bottom of the pan — this will be the top of your finished cake, so make it pretty.
Step 3: Pour the Batter
Reduce the heat to low. Pour the batter slowly and evenly over the apples, tilting the pan gently so it seeps into every gap and covers the fruit completely.
Step 4: Cover and Cook
Put the lid on and cook on low heat for about 10 minutes. Do not lift the lid early — the trapped steam is what sets and rises the cake. The cake is done when the top looks dry and firm to a gentle touch, and a toothpick pushed into the center (through cake, not apple) comes out clean.
Step 5: Flip and Serve
Take the pan off the heat and let it sit for 2 minutes. Run a spatula around the edge, place a serving plate over the skillet, and confidently flip the whole thing over so the cake lands apple-side up. Lift the pan away. Dust generously with confectioners’ sugar while warm, slice into wedges, and serve.
Tips for Success
- Even slices, even cooking. Uniform wedges (about ¼-inch thick) soften at the same rate — no crunchy surprises.
- Low heat is non-negotiable. Too high and the apple layer scorches before the center sets. Patience on low wins.
- Keep the lid on. Every peek releases the steam that cooks the top. Trust the timer.
- Non-stick really matters. The flip is the grand finale — a good non-stick pan (or a well-buttered one) makes it effortless.
- Test cake, not fruit. A toothpick through an apple slice always comes out wet. Aim for plain cake in the center.
Delicious Variations
Warm Spice Blend
Add a pinch of nutmeg, allspice, or ground ginger to the apples as they sauté for a deeper, bakery-style spice profile.
Nutty Crunch
Scatter a small handful of chopped walnuts or pecans over the apples right before the batter goes on — they toast in place and add lovely texture.
Cranberry Pop
A handful of dried cranberries over the apples gives tart little bursts that love cinnamon.
Caramel Finish
Drizzle warm caramel sauce (regular or sugar-free) over the flipped cake instead of, or along with, the confectioners’ sugar.
Pear or Peach Season
The same method works with firm pear slices in autumn or peach slices in summer — adjust the sauté by a minute for softer fruit.
Serving Ideas
- Warm with vanilla ice cream — the classic, for a reason
- With whipped cream and an extra dusting of cinnamon
- For brunch — it’s a cake, but fruit + eggs + milk lets it pass at breakfast
- With coffee or tea — an afternoon slice is hard to beat
Storage
Room temperature: Covered, the cake keeps for 1 day (the apple layer stays moist and lovely).
Refrigerate: Up to 3 days in an airtight container. Warm slices gently in a skillet over low heat or for 15–20 seconds in the microwave to bring back the just-made softness.
Make ahead: Honestly, at 25 minutes start to finish, it’s freshest made on the spot — but the batter can rest in the fridge for a few hours; bring it back to room temperature and stir before using.
Approximate Nutrition
Per serving (recipe serves 6): approximately 230 calories, 4g protein, 4g fat, 45g carbohydrates, and 3g fiber (more if you leave the apple peels on). Estimates calculated from the listed ingredient amounts using standard reference values. With no pastry crust and just one tablespoon of butter, it’s a noticeably lighter way to enjoy apple pie flavor.
Frequently Asked Questions
Can I bake this in the oven instead?
Yes — assemble it in an oven-safe skillet and bake at 350°F (175°C) for 20–25 minutes, until the center is set. The stovetop method is simply faster.
What if I don’t have a lid for my skillet?
A large baking sheet or a piece of foil tented tightly over the pan traps steam well enough.
Do I have to peel the apples?
No. Peels soften as they cook, add fiber, and give the top a rustic look. Peel for the smoothest, most classic finish.
My cake stuck when flipping — what went wrong?
Usually the pan wasn’t non-stick enough or the cake flipped too hot or too cold. Butter the pan well, rest the cake 2 minutes (not 10), and flip in one confident motion.
Can I double the recipe?
Use a 12-inch skillet and add 3–4 minutes to the covered cooking time. The batter-to-apple ratio stays the same.
You May Also Like
More comfort cooking from the site: our Garlic Butter Steak Bites with Creamy Parmesan Shells for a one-skillet dinner, or the High-Protein, Low-Carb Chocolate Cake when the sweet craving leans chocolate.
Final Thoughts
This Tasty Apple Pie skillet cake is what you make when the craving hits at 7 p.m. and dessert needs to happen by 7:30. Warm cinnamon apples, fluffy golden cake, one pan, zero oven.
Keep three apples on the counter and this recipe in your back pocket — you’ll use it all season long.