
Table of Contents
Fluffy Baked Cheesecake Bars
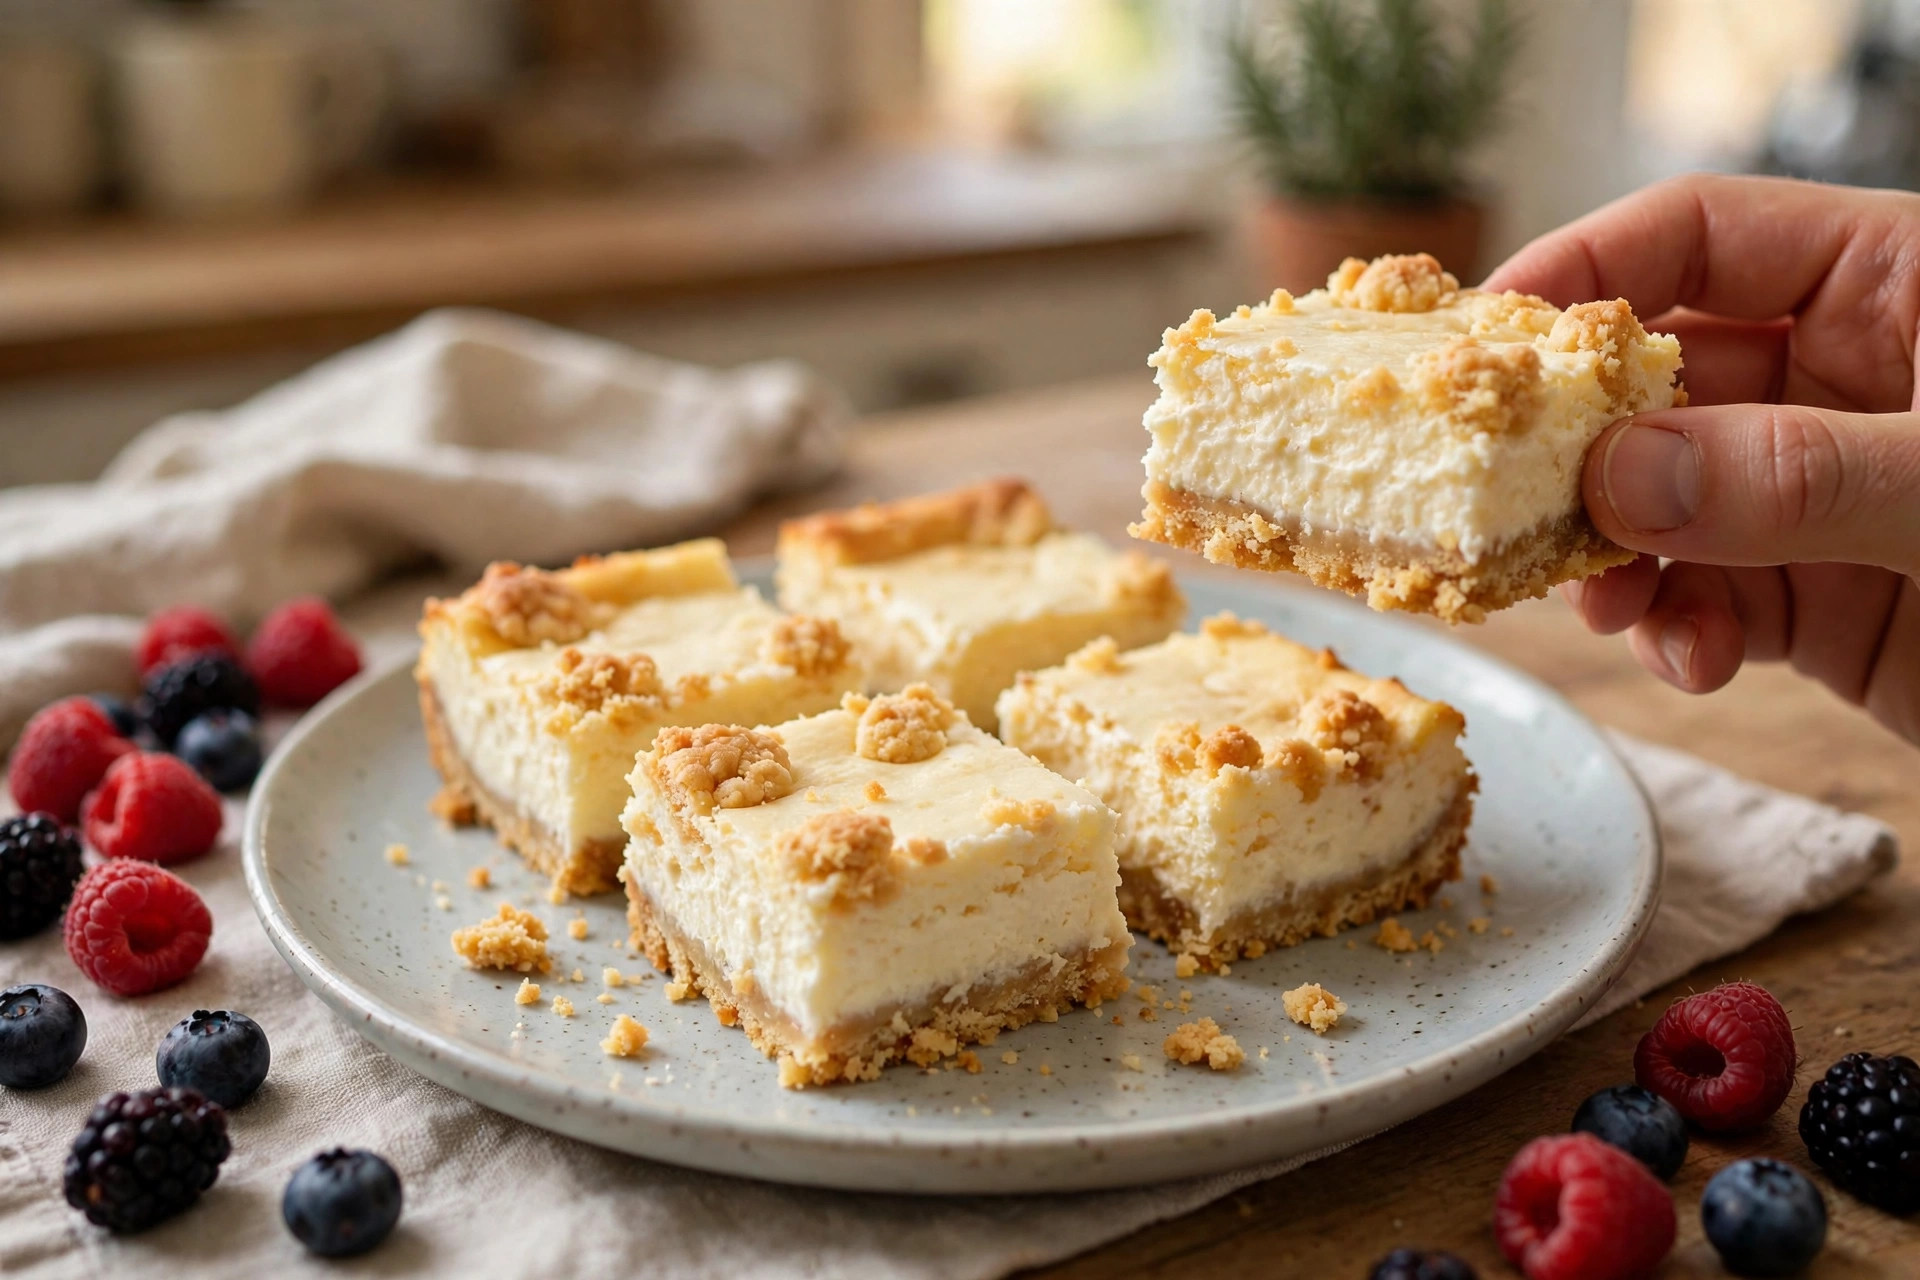
There is something undeniably delightful about a perfectly baked cheesecake — and when it comes in bar form, portable, easy to slice, and ideal for gatherings, it reaches peak dessert versatility. These fluffy baked cheesecake bars are light, creamy, and decadent, with a golden biscuit crust under every luscious bite. They look impressive, yet they are surprisingly simple to make.
The secret is a gentle, low-temperature bake and a slow cool-down, which together give a silky filling without cracks. Chill them well, slice with a clean knife, and you get tidy, bakery-looking bars every time.
Why You Will Love These Bars
- Light and fluffy, not heavy. Whipped cream cheese, cream, and eggs bake into a soft, airy filling.
- Easy to serve. Bars slice cleanly and travel well — perfect for parties, potlucks, and dessert trays.
- Simple ingredients. Cream cheese, cream, eggs, sugar, lemon, and a biscuit crust.
- Make-ahead friendly. They need chilling anyway, so bake the day before and slice when needed.
- Endlessly adaptable. Fruit swirls, chocolate, nut crusts, or mini versions in a muffin tin.
Ingredients
For the Crust
- 200 g digestive biscuits or graham crackers, finely crushed
- 100 g unsalted butter, melted
For the Cheesecake Filling
- 500 g cream cheese, at room temperature
- 200 ml heavy cream
- 100 g granulated sugar
- 2 tbsp cornstarch
- 3 large eggs
- 1 tsp vanilla extract
- 1 tbsp lemon juice
- 1 tsp lemon zest (optional, for a bright citrus note)
Directions
Preparing the Crust
- Crush the biscuits. Use a food processor, or seal the biscuits in a plastic bag and crush with a rolling pin, until fine and sand-like.
- Combine with butter. Stir the crumbs with the melted butter until the mixture resembles wet sand and holds together when pressed.
- Line the pan. Line an 8×8 inch (20×20 cm) square baking pan with parchment paper, leaving some overhang on the sides for easy removal.
- Press firmly. Press the mixture into the base with the back of a spoon or a flat-bottomed glass, making it even and compact.
- Chill. Refrigerate the crust for 15–20 minutes while you prepare the filling, so it firms up and holds together during baking.
Mixing the Filling
- Beat the cream cheese. In a large bowl, beat the room-temperature cream cheese with a hand or stand mixer on medium speed until smooth and lump-free.
- Add sugar and cornstarch. Mix again until fully combined. Cornstarch helps prevent cracks and gives a more stable, sliceable texture.
- Add the eggs one at a time. Mix well between each addition, but do not overbeat once the eggs are in — too much air causes a puffy, cracked surface.
- Finish the batter. Add the heavy cream, vanilla extract, lemon juice, and zest (if using). Mix until smooth and glossy with no lumps. The lemon lifts the flavor and cuts through the richness. For extra smoothness, strain the filling through a mesh sieve before pouring.
Baking
- Preheat. Heat the oven to 160°C (320°F).
- Pour and settle. Pour the filling evenly over the chilled crust and smooth the surface with a spatula. Tap the pan gently on the counter a few times to release trapped air bubbles.
- Bake low and slow. Bake for 45–50 minutes, until the edges are slightly puffed and the center is just set — a slight wobble is fine.
- Cool gradually. Turn the oven off, crack the door slightly, and let the cheesecake cool inside for 30 minutes. Slow cooling prevents the sudden temperature change that causes cracks.
Chilling and Serving
- Chill thoroughly. Refrigerate for at least 4 hours, preferably overnight. This is what sets the filling to its proper consistency and deepens the flavor — do not skip it.
- Lift and slice. Remove from the pan using the parchment overhang. Slice into 16 bars with a sharp knife, wiping the blade clean between cuts for tidy slices.
- Serve chilled. Garnish optionally with a dusting of powdered sugar, fresh berries, or a drizzle of berry coulis or chocolate.
Tips for Success
- Room-temperature ingredients are crucial. Cold cream cheese or eggs cause lumps and lead to overmixing.
- Do not overbeat after the eggs go in. Excess air means rising and cracking in the oven.
- Use parchment. The overhang makes removal and slicing far easier.
- Bake low and slow. High heat curdles the filling and cracks the surface.
- Do not skip chilling. It sets the texture and enhances the flavor.
Variations to Try
- Fruit swirl: Spoon raspberry or blueberry jam over the filling before baking and swirl gently with a toothpick.
- Chocolate twist: Add ½ cup melted white or dark chocolate to the batter.
- Nut crust: Replace part of the biscuit crumbs with crushed almonds or pecans.
- Mini versions: Bake in a muffin tin with paper liners for individual cheesecake bites.
Serving Ideas
Pair the bars with fresh berries, a dollop of whipped cream, or a light citrus glaze. They shine on a dessert tray beside brownies, lemon bars, and fruit tarts, and pair beautifully with coffee, tea, or a glass of Prosecco.
Storage and Shelf Life
Refrigerate in an airtight container for up to 5 days. Freeze individual bars wrapped tightly in plastic wrap for up to 1 month; thaw overnight in the fridge before serving. Avoid leaving the bars at room temperature for more than 2 hours because of the dairy content.
Nutrition (per bar, 16 bars)
Approximately 265 calories, 4 g protein, 21 g fat, and 17 g carbohydrates per bar, computed from the actual ingredient amounts above.