
Table of Contents
Spotted a Tick? First, Know What You Are Looking At
Finding a tick attached to your skin is an unsettling moment — one writer found hers on her ankle while mowing the lawn, her golden retriever lying under an oak tree nearby. She removed it, identified it by the single white dot on its back, and learned an important lesson: what you do in the next few minutes matters more than how worried you feel.
The tick in question was a lone star tick, and it is worth knowing how to recognize one, how to remove it safely, and how to keep it from happening again.
Identifying a Lone Star Tick
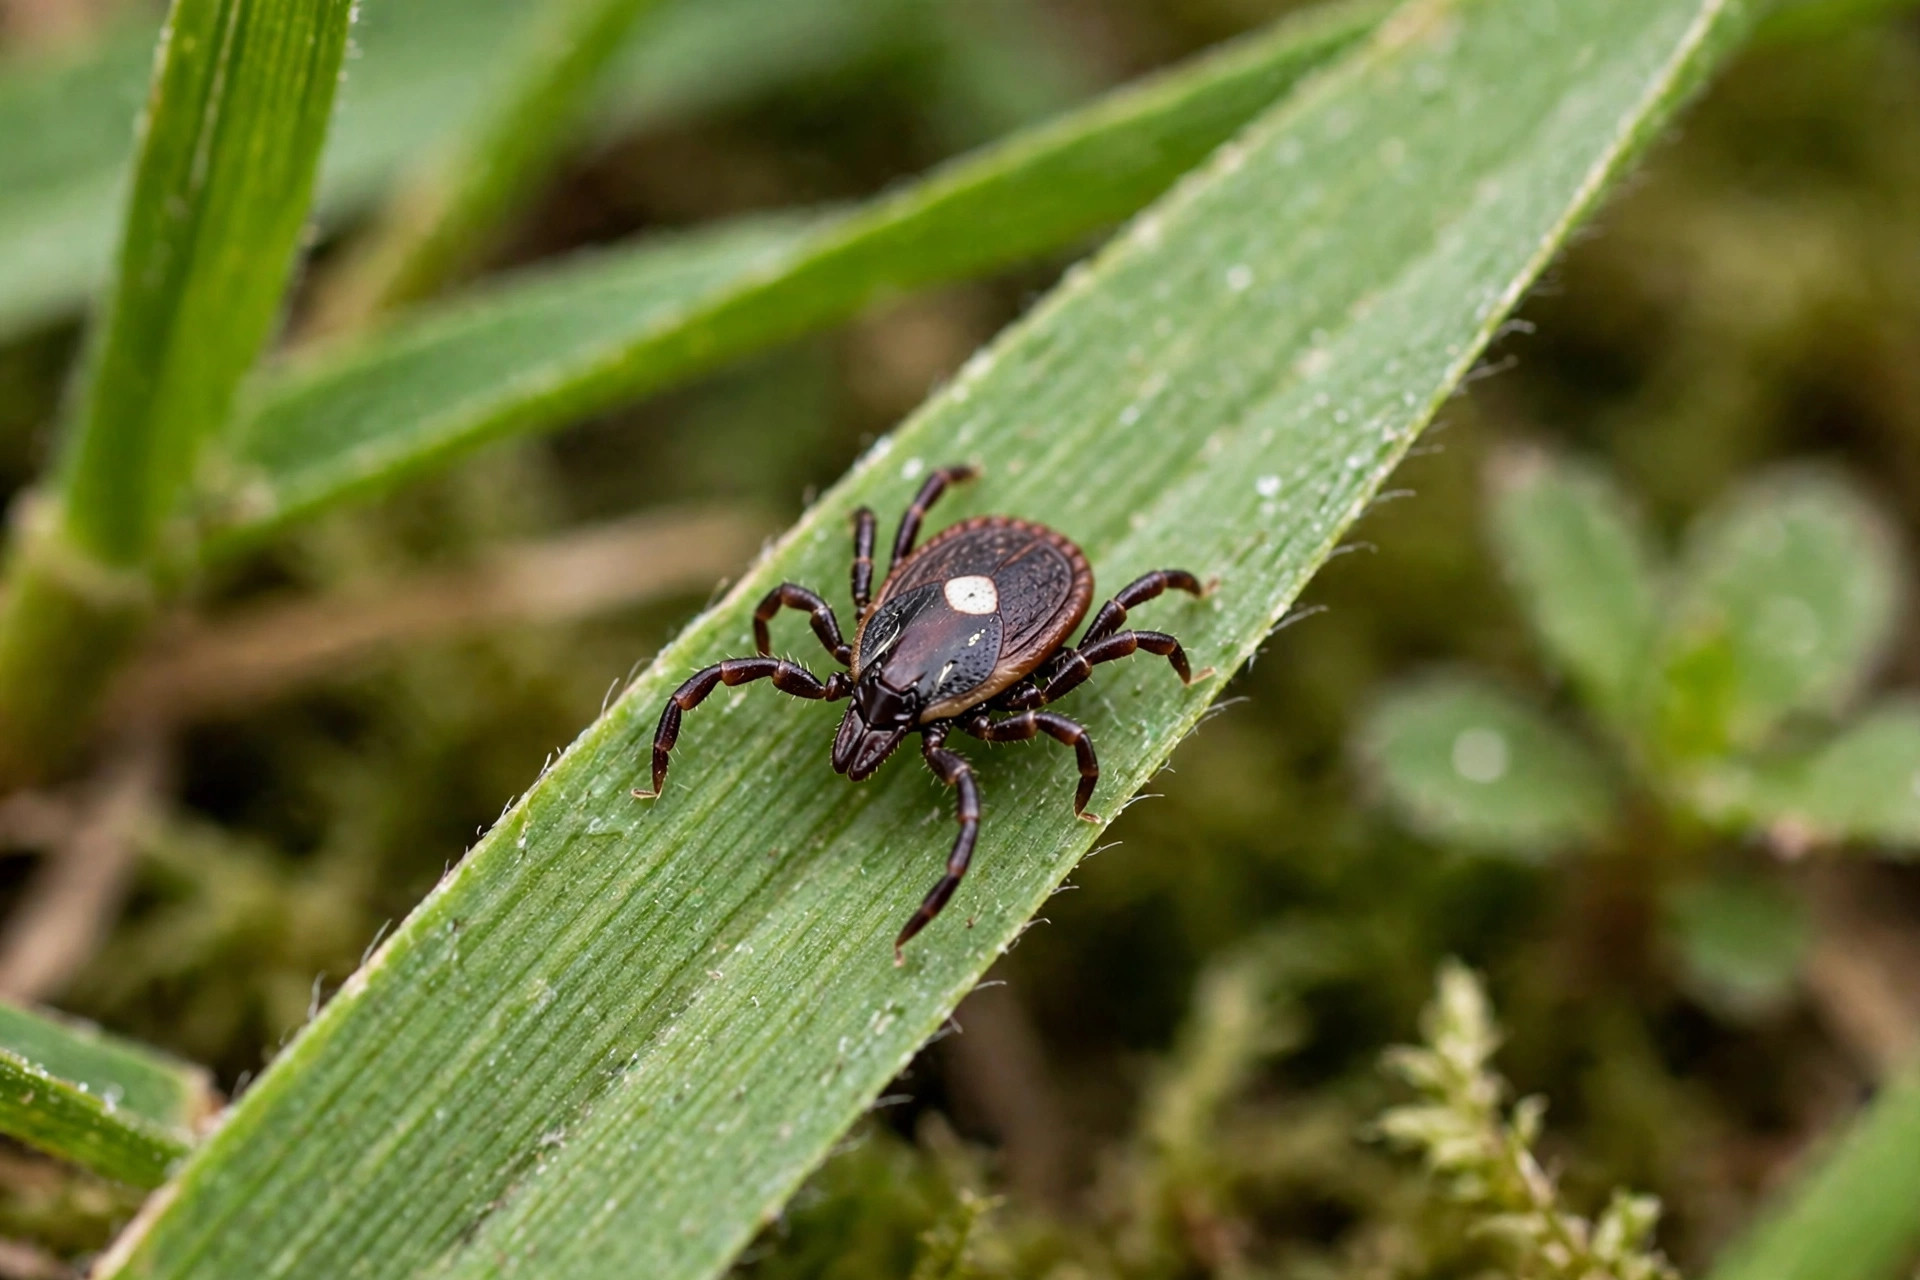
The lone star tick (Amblyomma americanum) gets its name from the distinctive white spot on the back of adult females — a single pale dot that sets it apart from other ticks. It is also unusually aggressive. Unlike passive ticks that simply wait for a host to brush past, the lone star tick actively seeks hosts, climbing vegetation and detecting breath or body heat.
Awareness matters most in wooded areas, tall grass, and brushy landscapes — exactly the places where people and pets spend time outdoors.
Step 1: Do Not Panic — But Act Quickly
Remove an attached tick immediately. The longer it stays attached, the greater the risk of disease transmission, since ticks are potential carriers of serious illness.
- Use fine-tipped tweezers, grasping the tick as close to the skin as possible, right at the mouthparts.
- Pull upward steadily and gently. Do not twist, jerk, or crush it — the mouthparts can break off under the skin and cause irritation or infection.
- Clean the area with rubbing alcohol, iodine, or soap and water.
- Never crush a tick with your bare fingers.
Step 2: Save the Tick and Monitor Closely
Do not throw the tick away. Save it in a sealed container, a small vial, or stuck on clear tape, so a healthcare provider can identify the species if symptoms develop. Write down the date, the body location, and roughly how long it was attached.
Then monitor the bite site daily for the next few weeks, watching for:
- A spreading rash — especially a “bull’s-eye” pattern, though not all tick rashes look like that
- Redness, warmth, or swelling that keeps getting worse
- Flu-like symptoms: fever, chills, fatigue, headache, or muscle and joint aches
If you notice anything unusual, call your doctor. Do not wait, and do not downplay it — early intervention matters, and having the saved tick helps your provider assess the risk.
Step 3: Prevent Future Encounters
Outdoors
- Wear long sleeves and long pants, and tuck your pants into your socks.
- Use an EPA-registered repellent — DEET, picaridin, or IR3535.
- Treat clothing and gear with permethrin — never apply permethrin to skin.
- Stay toward the centers of trails rather than brushing through vegetation.
After Coming Inside
- Do a full-body tick check: behind the ears, under the arms, in the hair, around the waist, and behind the knees.
- Shower within two hours of coming indoors.
- Tumble-dry your clothes on high heat for 10 minutes to kill any ticks you missed.
Around the Yard
- Keep grass mowed short and clear away leaf litter and brush.
- Create wood-chip or gravel barriers between the lawn and wooded areas.
- For persistent problems, consider targeted pesticide treatment.
A Note on Peace of Mind
Most tick bites do not lead to illness — that is worth remembering when you find one. But vigilance, hygiene, and prompt action are the best defenses you have. Know what a lone star tick looks like, remove it correctly and quickly, save it, watch the bite site for a few weeks, and take the simple prevention steps before your next walk in tall grass. A few calm minutes of action beat days of worry.